
I am so in love with
these leggings! This diy was
inspired by some adorable leggings I saw online which were unfortunately sold
out in my size. They seem to be
sold out completely now as I can’t find a link on their site to share with you. Anyway, being the crafty girl that I am
I decided if I couldn’t buy a pair I would need to make myself a pair.

I have been wanting to
try freezer paper stencilling for ages so this seemed like the perfect
opportunity. For those in
Australia freezer paper is not readily available in the supermarket as it is in
America. I bought mine at the
cutting counter of my local Spotlight for $1.50 a metre. For this project you will only need a
tiny amount.
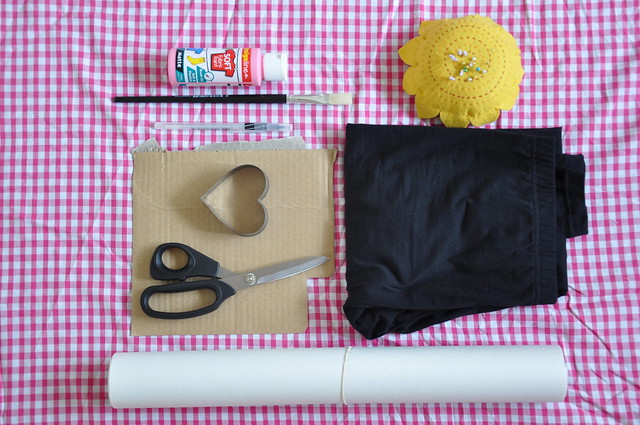
Okay so firstly you
are going to need to gather your materials. For this project you will need a pair of leggings, freezer
paper, pins, pencil, heart cookie cutter (or stencil), fabric paint, paint
brush and cardboard.

Firstly you will need
to try on your leggings and mark where you would like your hearts to be
placed. I found the easiest way to
do this was standing in front of a mirror. I placed a pin at the top of my kneecap and another at the
bottom of my knee. Then stand up
straight and make sure they are even.
Carefully take your leggings off so you don’t pin yourself.
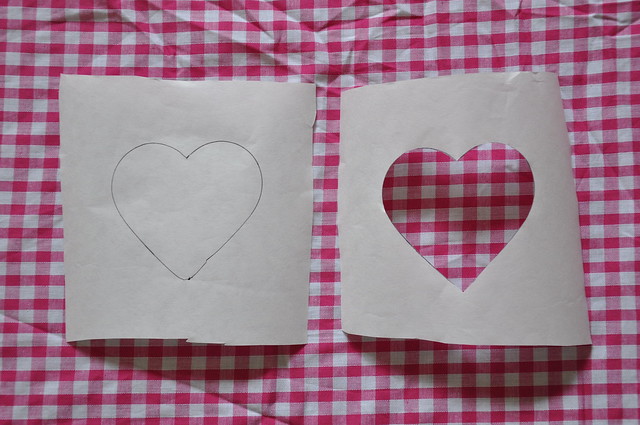
Cut two small squares
of freezer paper. Make sure your
squares are big enough so there is a few centimetres of space around the
outside of your heart cookie cutter/stencil. Use a pen to trace around your stencil on the matte side of
the freezer paper and then follow this line to cut out your hearts.
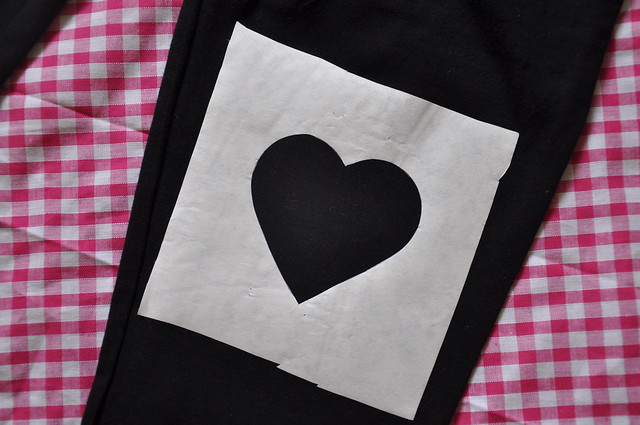
Using your pins as a
guide place the freezer paper shiny side down onto your leggings and pin in
place. Try your leggings on again
to ensure the hearts are straight and line up. Again be careful putting on and taking off your leggings so
you don’t stab yourself with a pin.
Trust me it hurts! Once you
are happy with the placement use a hot iron to the freezer paper in place.
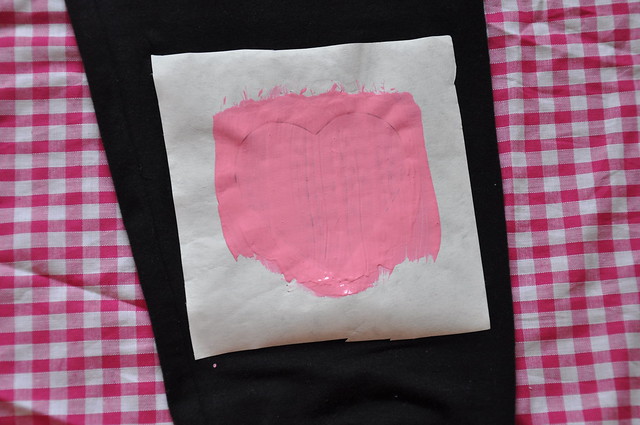
Cut your cardboard
down to size so it fits inside your leggings. Place the cardboard behind your stencil to ensure the paint
doesn’t bleed through. Now you are
ready to paint your fabric paint on.
I used a light colour on dark leggings so I had to do a few coats. Do as many coats as you need to achieve
the colour you like. Follow the
instructions on your fabric paint for drying time. Mine had to sit for 24 hours to dry.
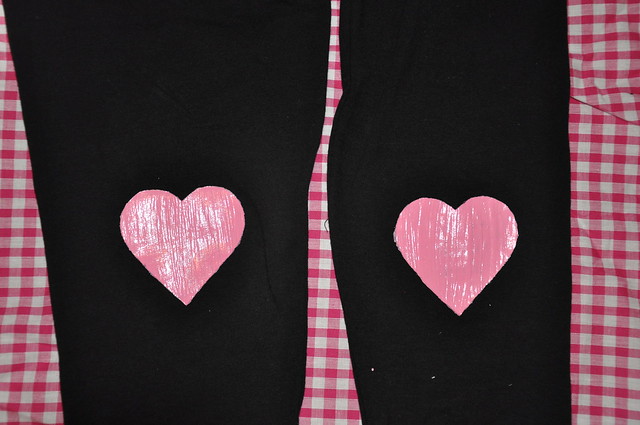
Once the paint is dry
carefully peel away the freezer paper from your leggings. You should be left with a nice sharp
image of your heart. Ta da! Your
done.
I
Now pop on your new
leggings and wear them this Valentine’s Day. They give a whole new meaning to wearing your heart on your
sleeve (or legs!)
Great tutorial. There is an Etsy shop that sells tights like these, in case, you know, you're too lazy to make your own :)
ReplyDeletehttp://www.etsy.com/listing/121126207/my-valentine-heart-leggings-size-large?ref=v1_other_2
Super cute and I love the new hair color btw
ReplyDeleteSuper cute and I love the new hair color btw :)
ReplyDeleteLove them! Such a good idea!
ReplyDeleteWould be very cute on a little girl's leggings, too!
ReplyDeleteThese are so adorable I love love love them (that was one for each knee and over for the tights overall :) ). I'm going to make Polly and Matilda some!
ReplyDeletedo they still call it freezer paper in spotlight or something else here in Aust?
ReplyDeletegreat tutorial babe x
What a great tutorial Kat!! I totally want to do this idea on a sweater on the elbows! Now to find a sweater to do this to.... ;)
ReplyDelete