Showing posts with label gifts. Show all posts

Wednesday, October 16, 2013

Aaaah, Monsters!!!

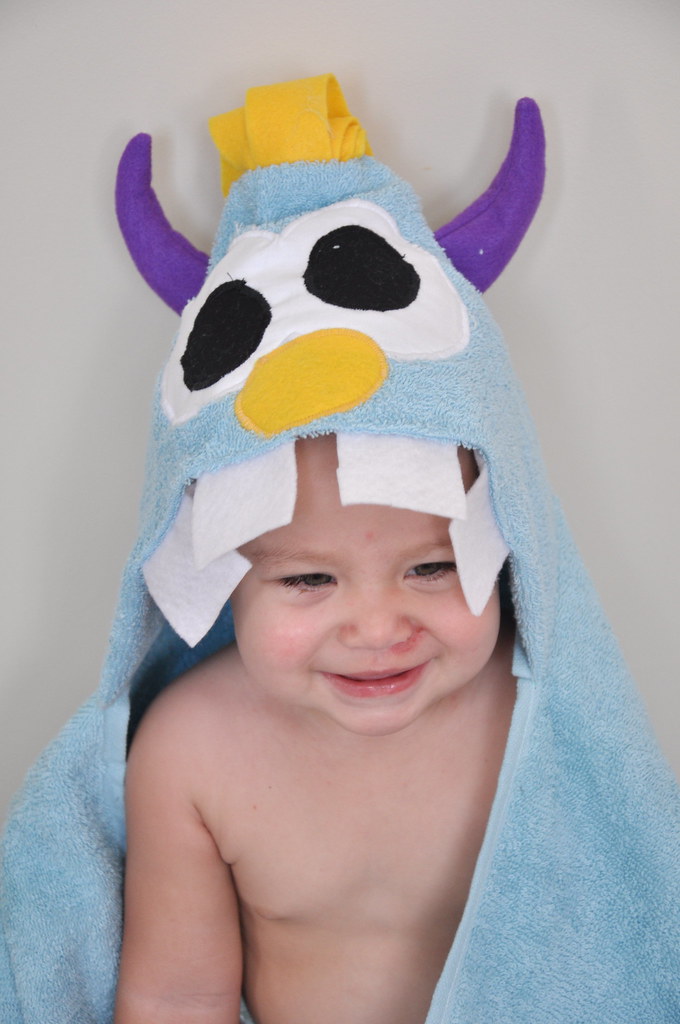
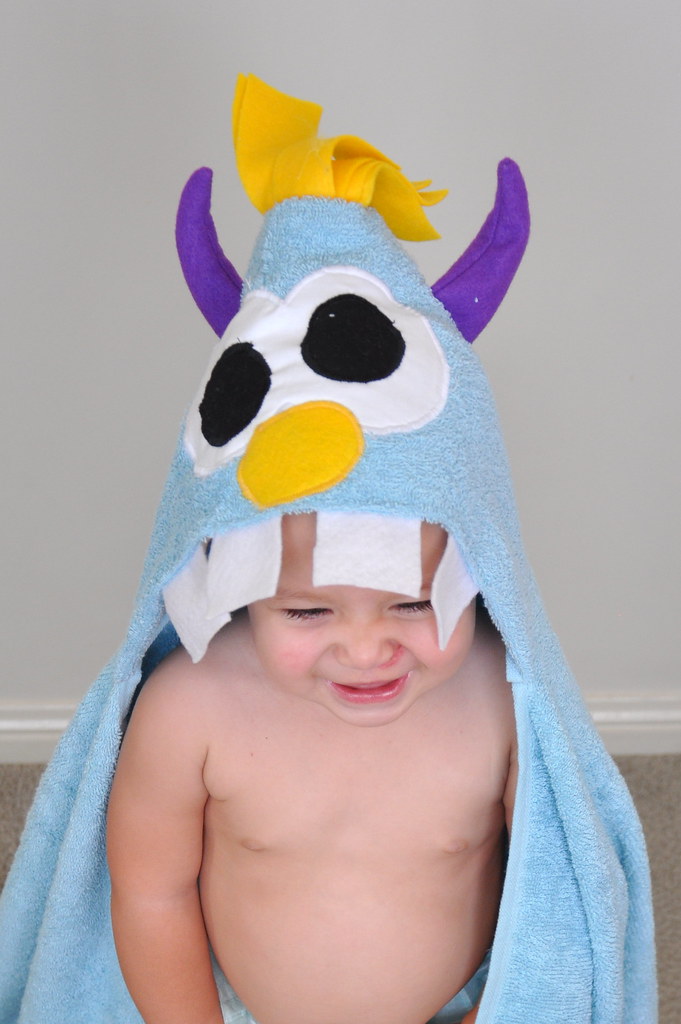
This past few weeks we have had birthdays coming out of our ears!  The weekend before Imogen's birthday we had to parties for two of the cutest little boys I know.  I decided to make their presents and headed to my pinterest page for some "pin-spiration" (see what I did there!)
monster hooded towel kids babies baby kid present children gift christmas birthday monster hooded towel kids babies baby kid present children gift christmas birthday
I just couldn't go past this tutorial that I pinned a little while ago.  This blog has so many hooded towel ideas that I think I need to make a few more.  You know what, I wouldn't mind a fun hooded towel for myself. I wonder if I could make one big enough??  These were super quick and easy to make and I had most of the materials on hand.  All I bought were the towels and hand towels which came from K-mart.  If you are looking to make one yourself defs check out K-mart because their towels are super cheap but still good quality.

Thursday, April 11, 2013

Handmade Gifting

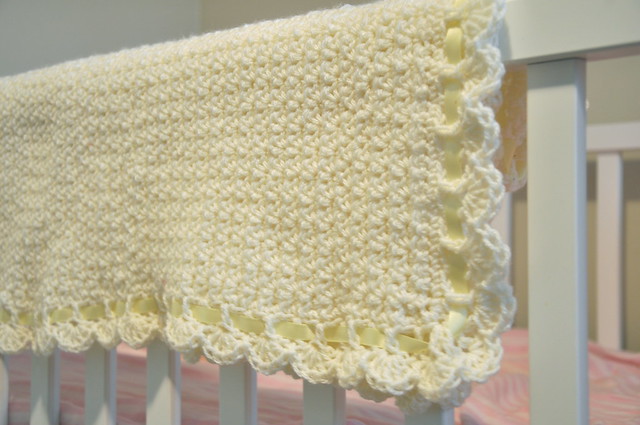
Baby Blanket for Sharon

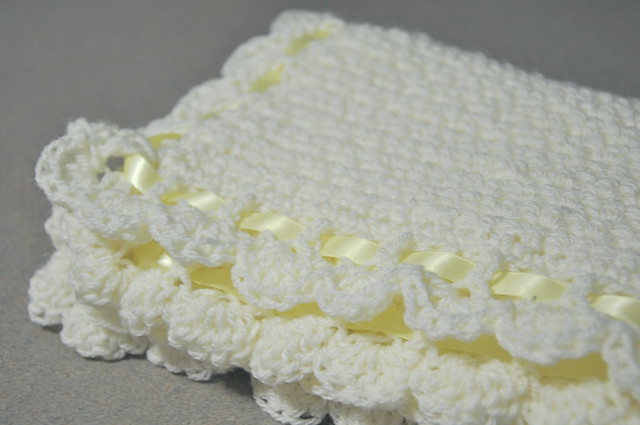
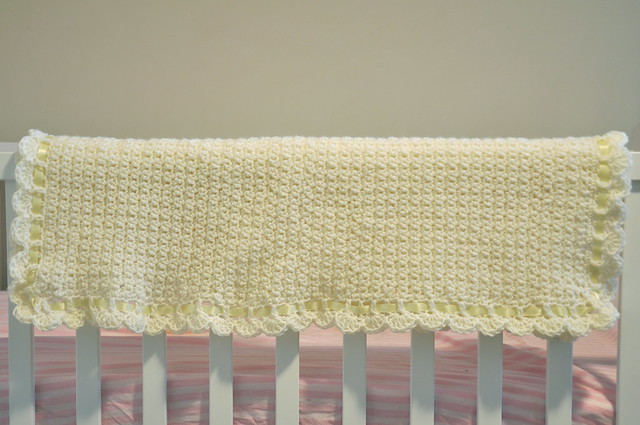
This week I finished up a quick handmade gift for my niece or nephew to be who is due in about 5 weeks.  The mum to be decided not to find out the gender as this is going to be her last baby so she wanted it to be a surprise.  So I decided to keep the blanket nice and simple and gender neutral.

Baby Blanket for Sharon

Corey and I have sneaking suspicion that they are having a girl and they know and just aren't telling anybody but only time will tell.  Either way this blanket will work.  However, I do wish I knew what she was having so I could have put a brighter ribbon on the blanket.

Baby Blanket for Sharon

I used this pattern which is available for free via Ravelry.  If you are a knitter or crocheter and you aren't on Ravelry you need to join now.  It is basically a massive online library of patterns.  Making blankets for the new babies in Corey's family has become a bit of a tradition for me.  Each time I have used a different pattern and I love all the different blankets that have resulted.  Hopefully there will be a few more babies to come that I can make blankets for.

Monday, January 21, 2013

Handmade Gifting

This past week I did a little more gifting of the handmade variety and it was so much fun!  I love making gifts for people and I love watching them receive something that I have put so much effort into.

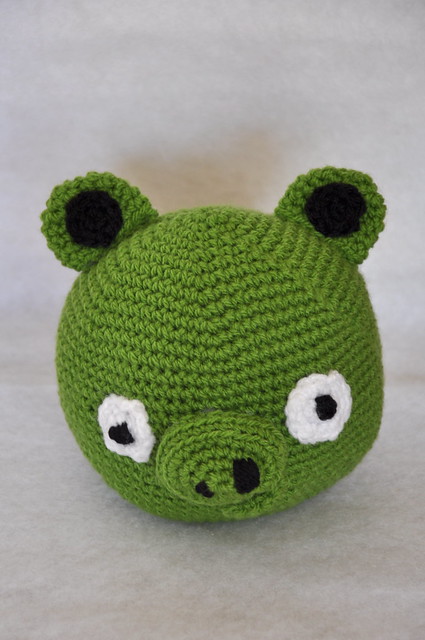
Angry Bird Pig

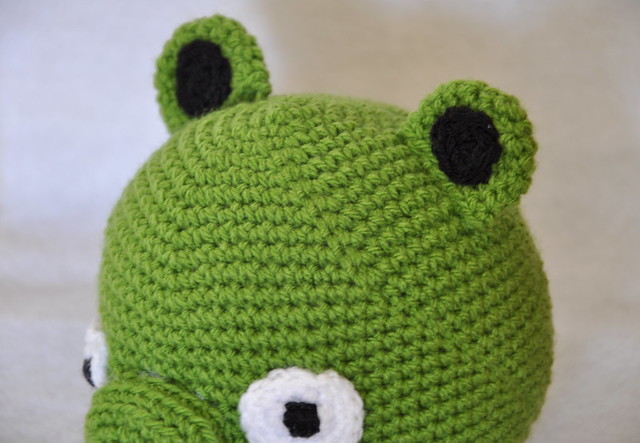
The first gift I made was an angry bird pig for my work friend who had a birthday last week.  A few of us girls got together to buy her some gifts but when I saw this pattern I couldn't resist making on to add in.  I am so glad I did because she loved it!  She is a major angry birds fan so this was the perfect thing for her.

Angry Bird Pig

I used this pattern available on ravelry and obviously didn't look at the finished measurements before I started because I didn't realise how big it would turn out.  It ended up being about 5 inches tall.  Despite it's size it was a super quick make.  If you sat down and knocked it out in one go you would probably be able to make it in just a couple of hours.

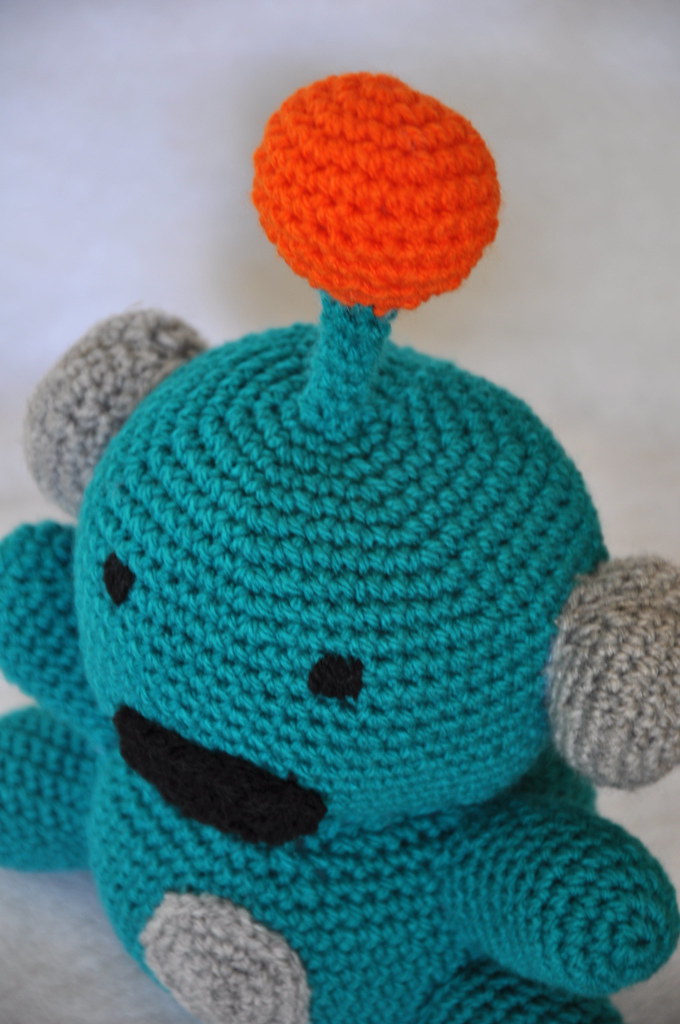
sparkie the robot crocheted toy sparkie the robot crocheted toy

The next two gifts were both made for my cousin's little boy who is due in 4 weeks.  They had a pool party/baby shower yesterday and it was the perfect way to spend a hot sunday afternoon.  The first gift I made was a crocheted robot using this pattern.  I was so happy with how this turned out.  Corey loved it too and he was a bit bummed when he found out I was giving it away.  He wants me to make another for Imogen.

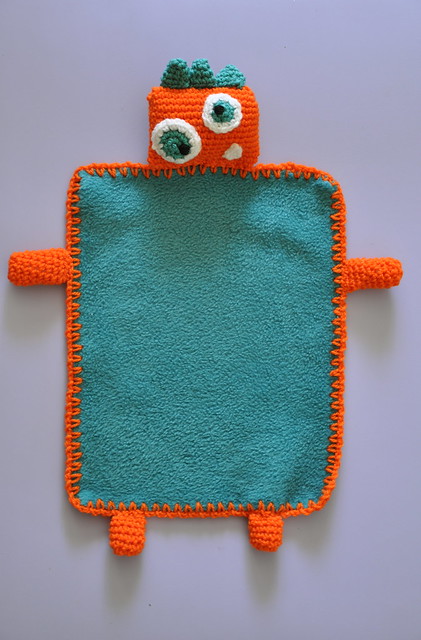
Monster Lovey Blanket

I also made this little comforter blanket thing to go with the robot.  I was flicking through ravelry when I spotted this pattern and thought it would be the perfect thing to accompany the robot.  This was also a quick make.  The only issue I had was the skip stitch blade I used cut the holes too close together so when I crocheted through them they tore.  Instead I measured around my piece of fleece and made pen marks at my desired interval.  I then used a knitting needle to poke holes at each of the points then I just continued on as the pattern said to.

Monster Lovey Blanket

How can you resist that little face! Isn't it just the cutest. My cousin was pretty impressed with the presents so hopefully his little boy is as well.  I am so excited for him to arrive and to finally meet him.  It feels like his girlfriend has been pregnant forever because they told us quite early.  Stay tuned and within a month or so I should have some cute newborn pics to share.
Monday, December 24, 2012

Mum's Christmas Present

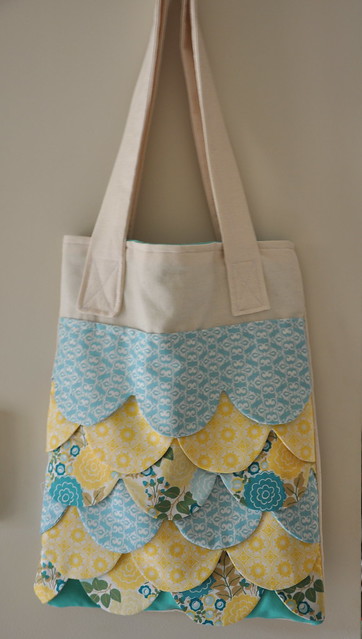
Scallop Tote Bag

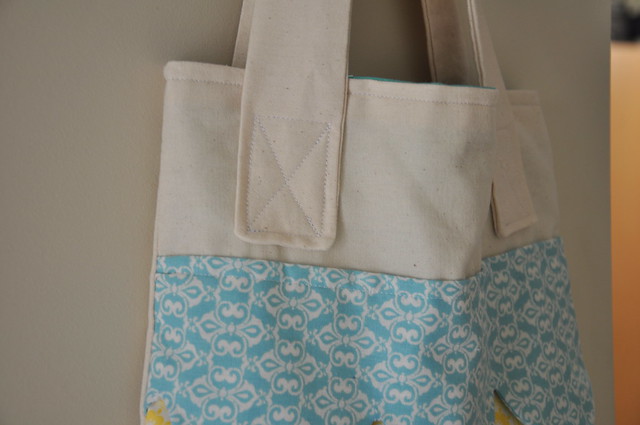
I have been wanting to share this bag with you guys since the minute I finished it. I am so in love with that I may need to steal it back from mum ;-) This is one of only 2 presents that I made for Christmas this year. But considering how long it took me to get this finished I would have had to start in June to get more presents done.
scallop tote bagscallop tote bag

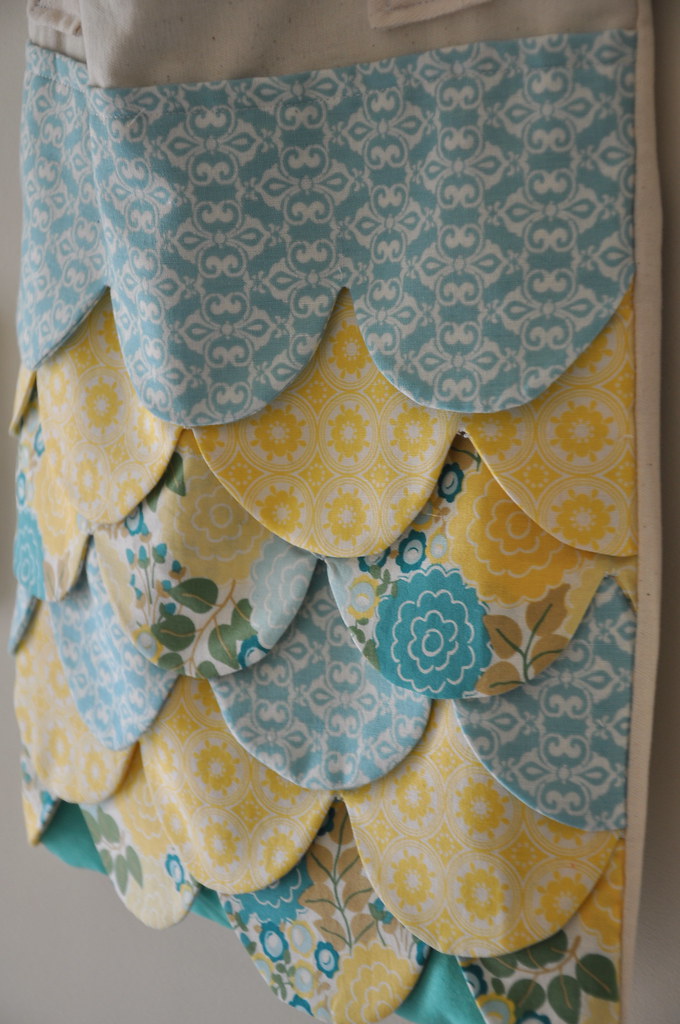
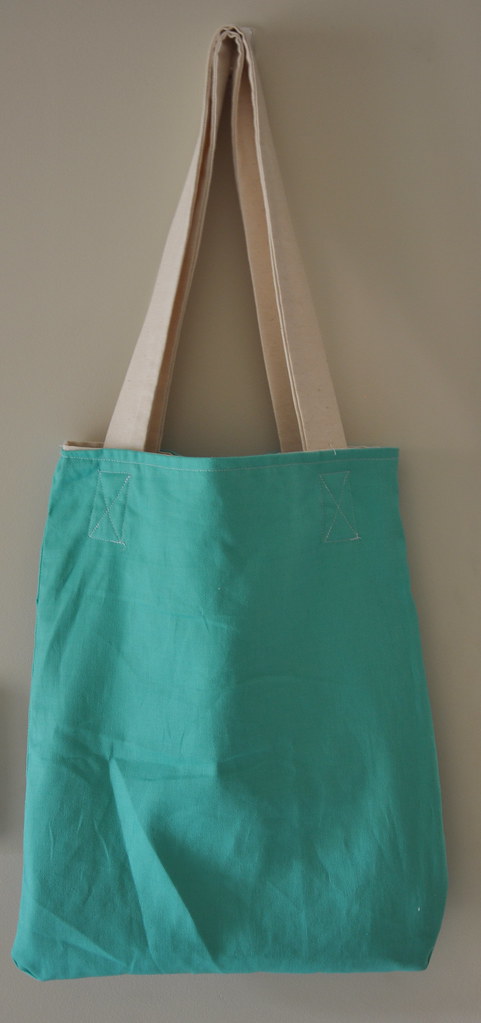
I used this tutorial by See Kate Sew for the basis of the bag. I used her measurements to cut the main bag pieces, lining and handle. For the scallops I didn't use her template but rather traced around a cup on the wrong side of a piece of fabric. I then used this chalk line as my guide and sewed along it before trimming and turning my scallops right side out. I found this gave me a rounder finish on my scallops and I could make them a little bigger.

Scallop Tote Bag

I also didn't use her sewing instructions because I was too impatient to read the tutorial before jumping into the sewing. I just winged it but it turned out pretty good so I am happy. I love the colours in this bag. I may have to grab some more fabric to make myself one otherwise I really will want to steal this back.

The other gift I made this Christmas was to whip up a couple of this necklaces for my niece who is accessories obsessed. Did you make any gifts this Christmas?

Friday, December 21, 2012

Cookie Mix Jars

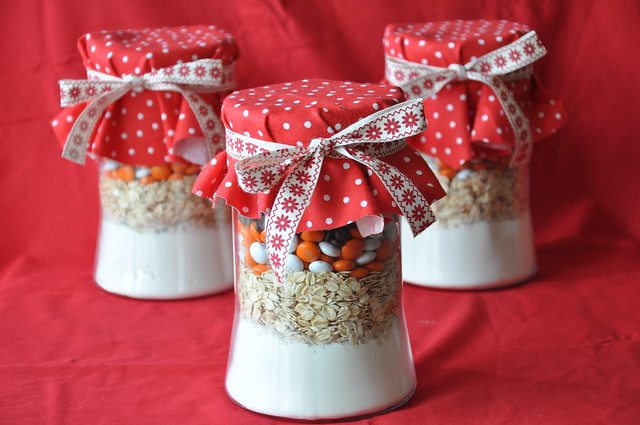
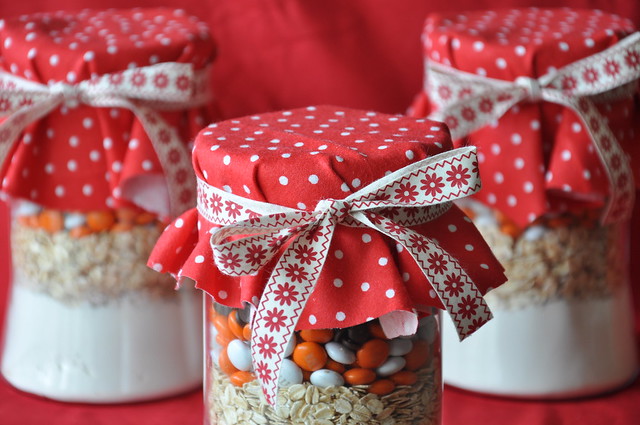
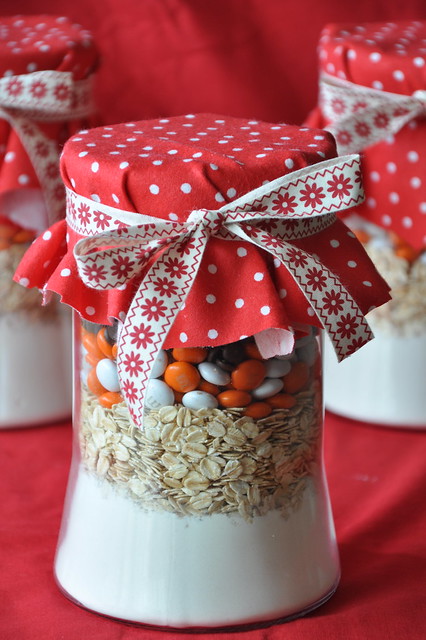
Cookie Mix JarsDo you need a last minute gift for a friend or colleague?  Do you have someone on your Christmas list that loves to bake or who would like to learn how to bake?  Why not make them a cookie mix jar!
Cookie Mix Jars
These are so easy to put together and look really impressive!  I used the measurements given in this post  by Bakerella.  I was hoping to find Christmas coloured mnm's but I couldn't.  I ended up using these orange and white mnm's that are jaffa flavoured.  I think they look quite good but probably a bit more Halloweeny then Christmasy.  Oh well!

Cookie Mix Jars

I found the jars I used in Kmart.  They are about 1 litre and the perfect size for this mix.  I topped them off with some scrap fabric and some ribbon that was leftover from Imogen's christmas outfit.  I think these make quite cute little gifts and I would love to receive one myself.

Wednesday, December 19, 2012

Doily Pom Pom Tutorial

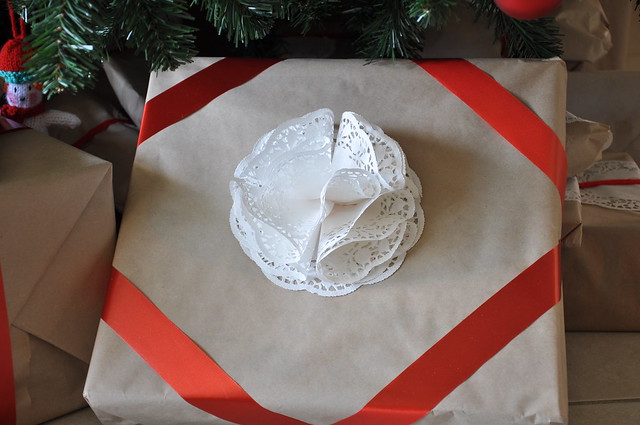
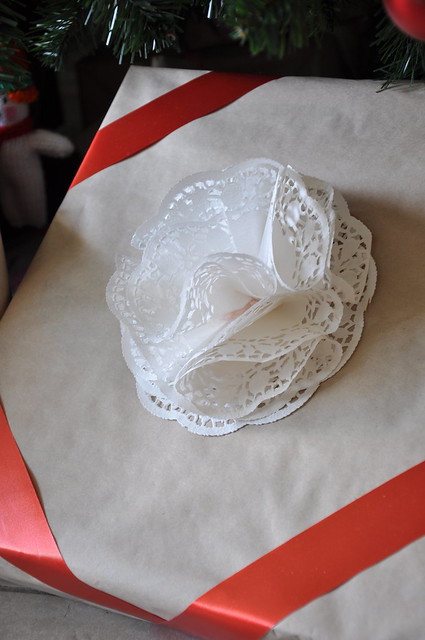
I had so much fun wrapping my presents this year and one of my favourite presents is this one that I wrapped for my nephew Laken.  I was so in love with the doily pom pom that I did the exact same on his twin sister's present too.  I thought it might be fun to share how I made this in case anyone out there is still looking for ideas to wrap those last minute presents.

Pom Pom Tutorial

You'll need:
6 doilies per pom pom
sticky tape

Pom Pom Tutorial

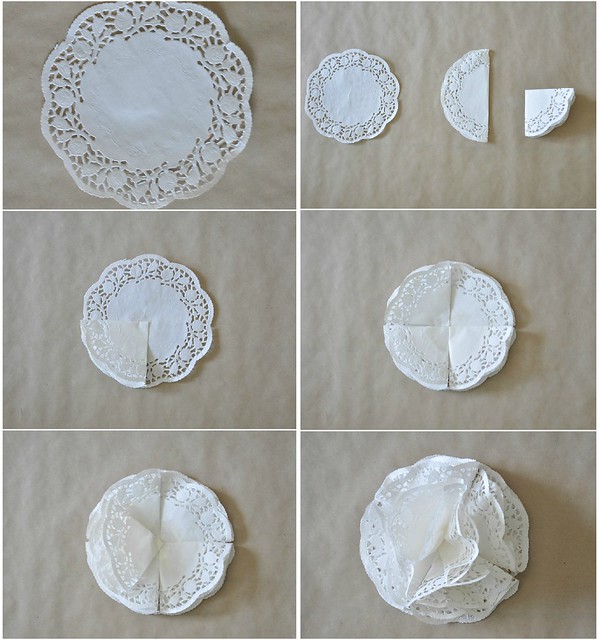
1 - stick a doily flat onto your wrapped present.

2 - Fold a doily in half and then in half again to create a quarter circle.  Do this with the remaining 5 doilies.

3 - place a small amount of sticky tape on the corner of one folded doily and tape in the center of the flat doily so the rounded edges aline.  Repeat with 3 more doilies to create a circle.

4 - Tape your last doily into the centre of the pom pom.  Bend this doily so that it stands up and fluff it out into a standing position.

5 - Fluff the folded doilies around the edges to fill in the gaps.  You may need to get right into the folded corner of the doily to make it stick out.

Pom Pom Tutorial

There you have it!  Simply and easy but they look so gorgeous.  Let me know if you give them a go.