
You'll need:
6 doilies per pom pom
sticky tape
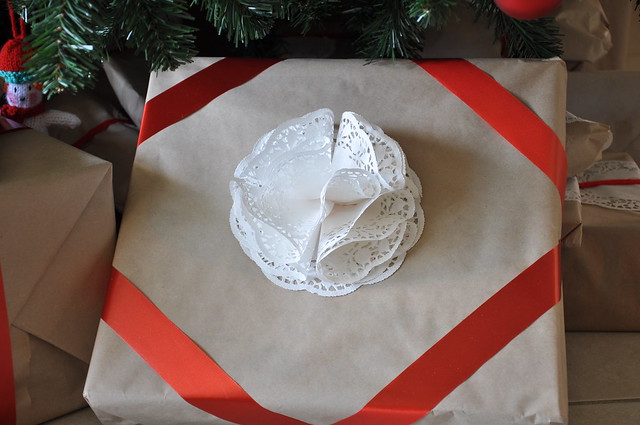
1 - stick a doily flat onto your wrapped present.
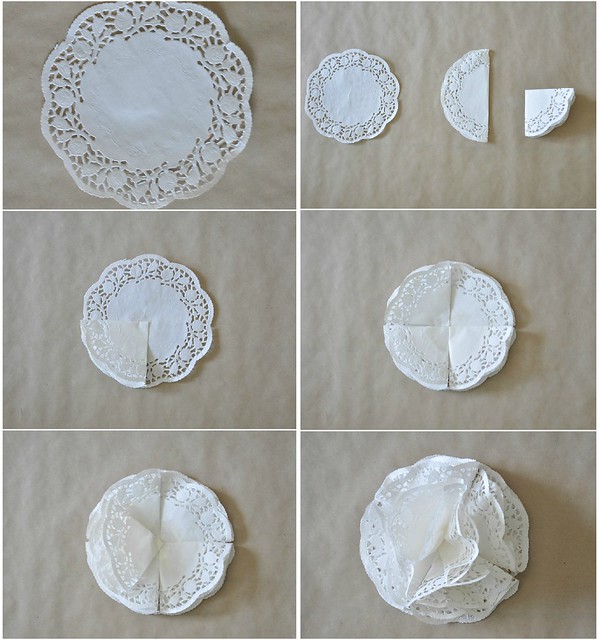
2 - Fold a doily in half and then in half again to create a quarter circle. Do this with the remaining 5 doilies.
3 - place a small amount of sticky tape on the corner of one folded doily and tape in the center of the flat doily so the rounded edges aline. Repeat with 3 more doilies to create a circle.
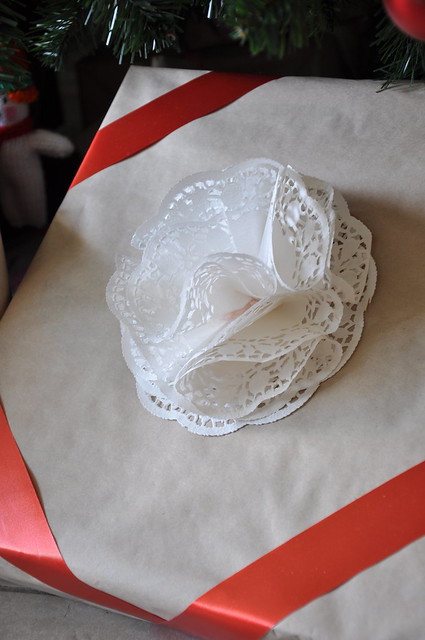
4 - Tape your last doily into the centre of the pom pom. Bend this doily so that it stands up and fluff it out into a standing position.
5 - Fluff the folded doilies around the edges to fill in the gaps. You may need to get right into the folded corner of the doily to make it stick out.

I am literally in love with this pom pom! So cute! It would look great on birthday presents too...can't wait to try it out, just got to get my hands on some paper doilies now!
ReplyDeletePretty!
ReplyDeleteoo wow x
ReplyDelete