I pinned this project over on my pinterest ages ago! In fact, according to pinterest it was pinned a year ago. Well finally I have got around to making it and it turned out super cute!
When I first saw the idea I bought some blue paper for the background and spray painted some cheap ikea frames white. Then I promptly chucked everything into my sewing room and didn't look at them again. When our new yellow pages were dropped off last week I knew it was time to get this project finished.
I used a heart shaped cookie cutter to mark my shapes on the map. The banners are a standard shape in Microsoft Word that I added a text box to. This project seriously took me about 15 minutes when I finally sat down and did it. I can't believe I didn't do it sooner! I must admit I love a pinterest project win. It sure beats a pinterest fail! Have you found any projects on pinterest that have worked out really well for you?
Showing posts with label home decoration. Show all posts
Friday, July 12, 2013
Monday, January 28, 2013
Home Is Where The Heart Is
I don't know if I mentioned it on here but the house we rent was recently sold. It sold just before Christmas and we were told the new owners would like us to stay. Last week we signed a new lease and now that it is definite we are going to be here for at least another 12 months I feel a bit more comfortable making more projects to turn our house into a home. I think in the past year this house has really started to reflect out style and feel more homely but there is still a lot more I would like to do. So today I thought I would share with you the last three projects I made for the house.
First up is this adorable bobble crochet holder that I made to add to our cluster wall in the kitchen. It is yet to be hung as I need to get some more 3m strips but it'll be up shortly. I have never crocheted bobbles before and they are so much easier than I expected. Plus the end result is super cute! I used this pattern and yarn from the stash. The best part of this is you need such a small amount of each colour that it is the perfect way to use up all those leftover bits of yarn.
The second project I made was a quick knit lattice frame to hold my brooch collection. It has been a while since I have knit anything since crochet has taken over my life so it was nice to pick up the needles again. This project has been in my ravelry queue since July 2011 so I am happy that I finally got around to making it. This lattice pattern is another one that looks harder than it really easy. The pattern repeat is quite easy once you have done a couple so you can just sit and pump it out while watching tv. The pattern can be found here. Oh and this is not my whole brooch collection I just didn't want to hide the entire lattice pattern before I took pictures.
And last but certainly not least is these framed prints that I made to hang over our bed. I am so over the blank wall above our bed and have had this idea for a while but only just executed it. The line that I have framed is from my most favourite movie Grease. The only bad thing about it is every time I look at it I start singing the song. So the song has been stuck in my head basically for a week straight. But I am so happy with how these look above our bed that I am willing to sacrifice a little of my sanity!
I have so many more ideas for our little house and I can't wait to see how much the house changes in the next 12 months. Oh and excuse the dodgy photos. The weather here has been rather gloomy and rainy.
![]() |
![]() |
First up is this adorable bobble crochet holder that I made to add to our cluster wall in the kitchen. It is yet to be hung as I need to get some more 3m strips but it'll be up shortly. I have never crocheted bobbles before and they are so much easier than I expected. Plus the end result is super cute! I used this pattern and yarn from the stash. The best part of this is you need such a small amount of each colour that it is the perfect way to use up all those leftover bits of yarn.
The second project I made was a quick knit lattice frame to hold my brooch collection. It has been a while since I have knit anything since crochet has taken over my life so it was nice to pick up the needles again. This project has been in my ravelry queue since July 2011 so I am happy that I finally got around to making it. This lattice pattern is another one that looks harder than it really easy. The pattern repeat is quite easy once you have done a couple so you can just sit and pump it out while watching tv. The pattern can be found here. Oh and this is not my whole brooch collection I just didn't want to hide the entire lattice pattern before I took pictures.
And last but certainly not least is these framed prints that I made to hang over our bed. I am so over the blank wall above our bed and have had this idea for a while but only just executed it. The line that I have framed is from my most favourite movie Grease. The only bad thing about it is every time I look at it I start singing the song. So the song has been stuck in my head basically for a week straight. But I am so happy with how these look above our bed that I am willing to sacrifice a little of my sanity!
I have so many more ideas for our little house and I can't wait to see how much the house changes in the next 12 months. Oh and excuse the dodgy photos. The weather here has been rather gloomy and rainy.
Thursday, January 17, 2013
Crossing The I's
Today I finally got around to updating our cluster wall with a couple of extra items. I am so happy with the new additions and am already dreaming up more things to add to the wall.
These letters are super easy to make. I use paper mache letters from Spotlight which are about $3 each. Then all you need is a piece of scrapbooking paper and some coordinating paint. First I painted all the sides of the letter and let it dry overnight. I then traced around the letter onto a piece of scrapbooking paper, cut out the paper letter and paste onto the front of the paper mache letter. From there if you need to you can trim any edges that you need to and hang.
Now, since I added that to one side of the wall I needed to add something to the other side. See I have a thing about balance and symmetry. I had no idea what I was going to make but the minute I saw this cross stitch on pinterest I decided it was just the thing.
I first saw this on the lovely Brooke's pinterest page and promptly saved it. The next day I had some spare time I popped on over to Spotlight and grabbed the supplies. I doubled the size if the pattern so it would take up more space on the wall. If you would like to make one too you can find the pattern here.
I am so happy with how these both turned out and how our cluster wall is expanding. I already have ideas for a few more things to add to expand the wall even further. Stay tuned for those!
A few weeks after Imogen was born we picked up an I to add to the wall but the poor thing has sat in my sewing room waiting ever since. Last night I finally got around to making it and hung it this morning.
These letters are super easy to make. I use paper mache letters from Spotlight which are about $3 each. Then all you need is a piece of scrapbooking paper and some coordinating paint. First I painted all the sides of the letter and let it dry overnight. I then traced around the letter onto a piece of scrapbooking paper, cut out the paper letter and paste onto the front of the paper mache letter. From there if you need to you can trim any edges that you need to and hang.
Now, since I added that to one side of the wall I needed to add something to the other side. See I have a thing about balance and symmetry. I had no idea what I was going to make but the minute I saw this cross stitch on pinterest I decided it was just the thing.
I first saw this on the lovely Brooke's pinterest page and promptly saved it. The next day I had some spare time I popped on over to Spotlight and grabbed the supplies. I doubled the size if the pattern so it would take up more space on the wall. If you would like to make one too you can find the pattern here.
I am so happy with how these both turned out and how our cluster wall is expanding. I already have ideas for a few more things to add to expand the wall even further. Stay tuned for those!
Labels:
cross stitch,
embroidery,
feature wall,
home decoration
Monday, December 3, 2012
Tis The Season
The first item on our advent calendar was to put up our tree and decorations. We managed to get the majority of the house decorated on Saturday but I am just needing to finish up our stockings so we can hang them.
I am so in love with our Christmas tree. Growing up I always wanted a colour coordinated tree and I love our red, white and silver theme.
I feel like we need a few more decorations for the rest of the house though. We only have a few little things and I want more. I also have never really been into outdoor lights before because they just seem like so much effort but a few houses in our street are all decorated and now I wish we had some lights. I think we might need to pick a few things up but I worry about them getting stolen.
I can't wait till Imogen is old enough to help us decorate. This year she sat in her bouncer and watched us with her santa hat on. This one is obviously way too big for her. I think I might need to make her her own little hat to wear when we go to carols next weekend.
Have you finished decorating your houses for Christmas? Do you do outdoor lights?
Thursday, October 4, 2012
Nursery Tour
As promised I finally have some photos of Squishy's finished nursery to share with you all. I am pretty much in love with this room. I tend to go in there and just hang out randomly during the day. The room was based on the fabrics I bought to make Squishy's quilt. Once I had those everything else was tailored to match. But that's enough chat, onto the photos....
Once we choose a name (we have narrowed it down to 2 choices) I would like to put her name along the wall above her cot. I am debating whether to do plain white letters or paint them or cover them in scrapbook paper. Any suggestions would be greatly appreciated.
And because I always look at room tours and think "oh I want one of those" here is a bit of a breakdown of the items I made (and tutorials used) and the items I bought.
Quilt - made by me (using this tutorial)
Cot Sheets - made by me (using this tutorial)
Cot Skirt - made by me (no tutorial used)
Tissue Paper Pom Poms - made by me (various tutorials for these can be found online)
Cot & Change Table - Boori Urbane from Baby Bunting
Armchair - Ikea
Owl Cushion - made by me (details here)
Teddy Bear - made by me (details here)
Dresser - Corey's old ones revamped (details here)
Noddy Book Box - from a little hippy shop in St Kilda (not sure of the name)
Rabbit Night Light - Lark Made
Pink Suitcases - That's 2 Cute
Mixer Toy - vintage - was my mum's when she was a kid
Alice In Wonderland Print - Shannon Markets
ABC Print - is actually wrapping paper bought from a little shop on Brunswick Street
Bookshelf - Kmart
Wednesday, September 26, 2012
Owl Cushion
I have finally finished the last project I wanted to get done for Little Miss Squishy's nursery. I wanted to make a cushion for the nursing chair that we have in her room. Originally I was going to make a crochet square cushion and embroider a monogram onto it once we chose her name. However, when I saw this pattern I just couldn't resist making this adorable owl.
Pattern: Crochet Owl Cushion by Zoom Yummy
Hook: 4mm
Yarn: Moda Vera Marvel 8 ply
Start/End Date: 11/9/12 - 25/9/12
This cushion was actually really fast to make even though it actually took me two weeks. I finished the front really quickly but then the poor thing sat neglected for over a week. I finally picked the project back up yesterday and managed to finish the whole project in just a few hours.
So that is the last thing that I wanted to make for the nursery. Now that is complete we are totally ready for Squishy to make her arrival. And that means that I can share some nursery photos with you all. Yay!!! Stay tuned for those soon.
Wednesday, August 22, 2012
Holy Sheet!
Oh wow! Is it the baby brain making my blog titles go down hill? Let's hope so. Expect better title in approximately 7 weeks.
This weeks project for Squishy's room was to make her some sheets. The room is slowly coming together and I have managed to get my to do list down to about 3 items which is exciting. Especially considering we are so close to meeting her and the weeks just keep slipping by.
The sheets were loosely based on this tutorial by Dana Made It. I read over it and then realised my measurements might be different. To get my measurements I measured the length and width of the mattress then added the depth of the mattress plus 3 inches for a hem and to fit under the mattress. They were actually really easy to make and nearly all the fabric was left over from the quilt. I actually made 3 sheets for the cot but 2 of them were different pink stripes and looked basically identical in photos.
These were so easy I decided to whip up a few for the bassinet as well. Considering the baby shop is selling bassinet sheets for $18 each this is a quick and easy way to save money. I was a bit lazy with the bassinet sheets and simply lay the mattress on top of my fabric and cut around it. They worked out perfectly though!
Making your own sheets is so quick and easy and for cribs and bassinets that don't need that much fabric they work out quite cheap compared to buying sheets. And if your a bit anal about colours matching like I am you can make sure your sheets are the perfect match for the rest of your room. When I have my last few items crossed off the list I will get a few more photos of the nursery to share with you. Hopefully that will be within the next few weeks.
Friday, March 9, 2012
Our House
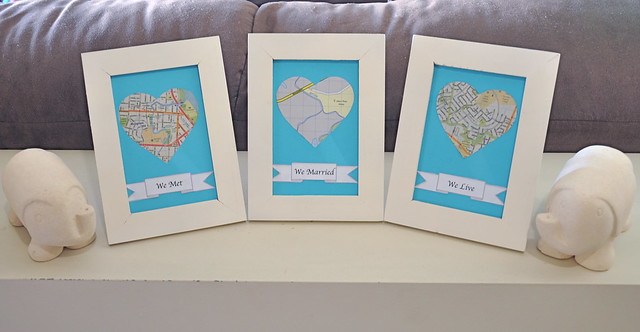
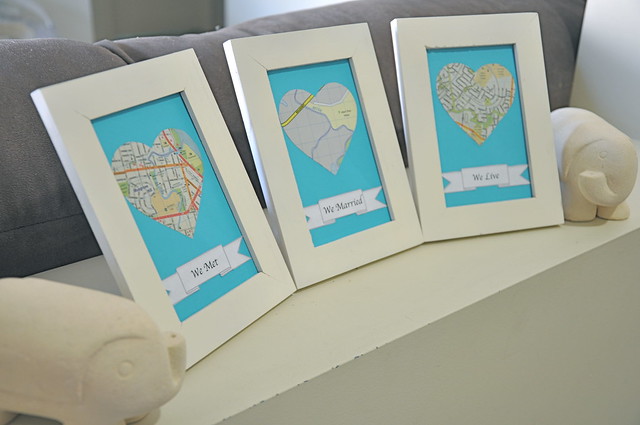
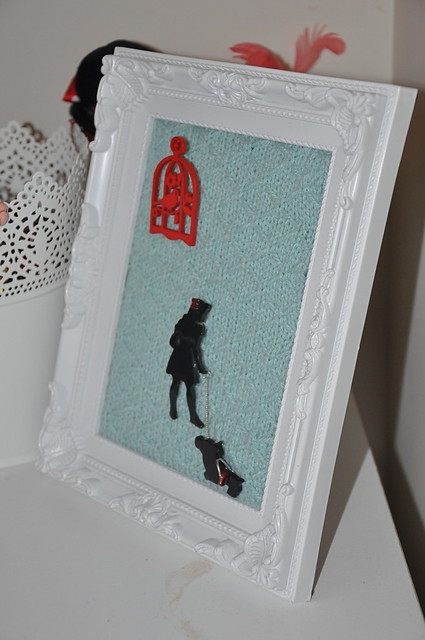
I took these photos a few weeks ago meaning to post them but then I fell into my non blogging slump. So I thought what better time then now to share them. These are a few pictures of our new house. We have started decorating but I think there is still a little bit to do to make it feel like our house. Hopefully in a few months or so I will be able to show you the house feeling a bit more us. It might take a while to get to that point but we'll get there. Anyway, enough of me, onto the pictures....
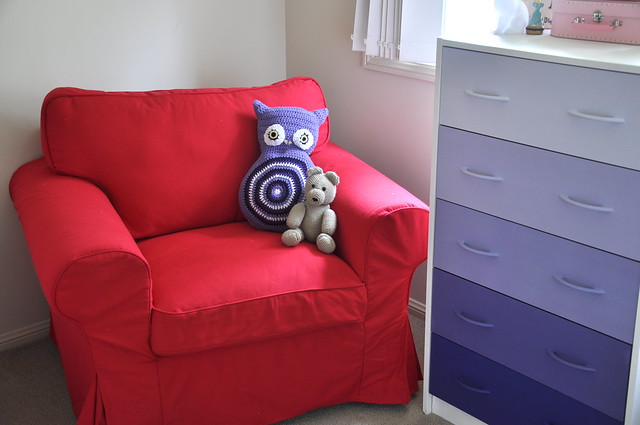
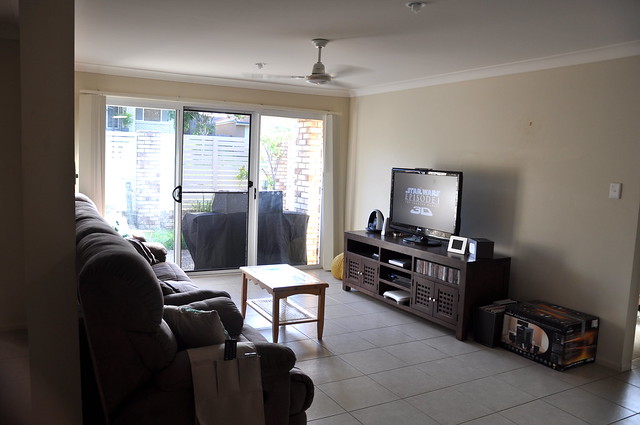
Our Lounge Room and a peek into our backyard. Notice the surround sound box next to the tv. We've been moved in for over a month and it is still sitting there. We're a bit slack!
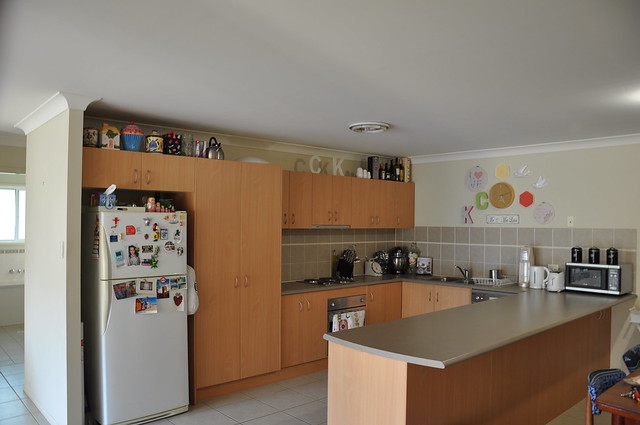
Our Kitchen. This is definitely my favourite room in the house. It is massive compared to our old kitchen so I am loving it. I actually have half empty cupboards. That might be a good excuse to go shopping for some more kitchen stuff.
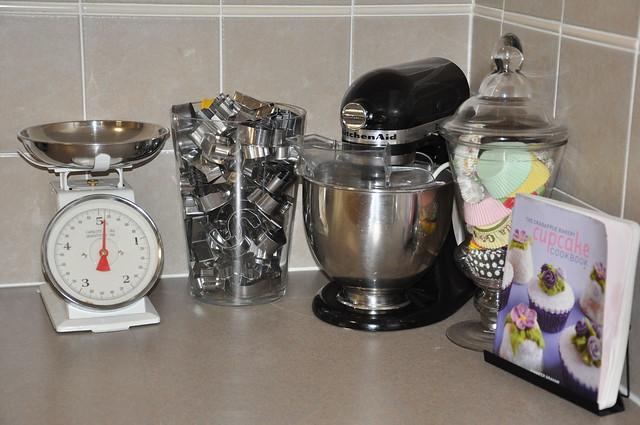
My favourite corner of the kitchen, the baking corner!
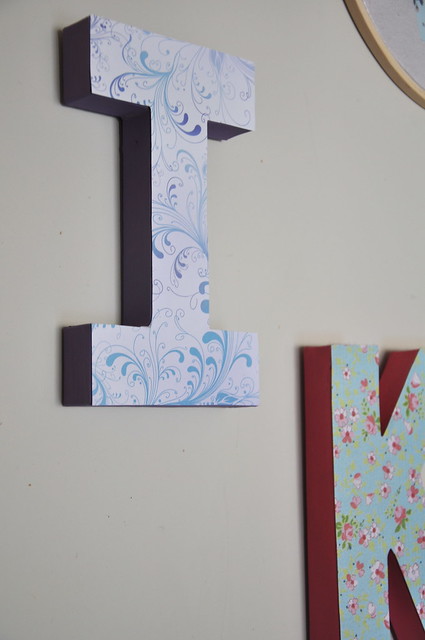
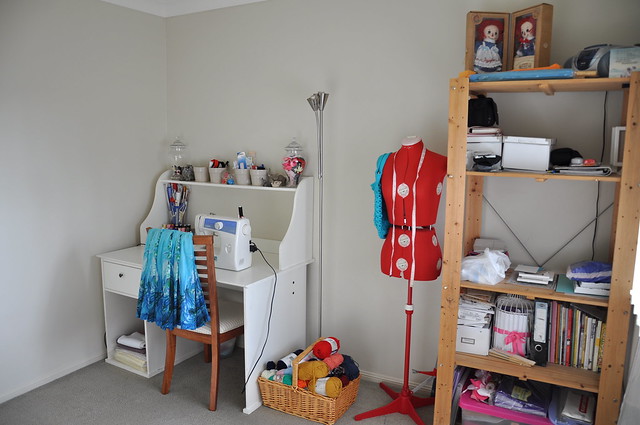
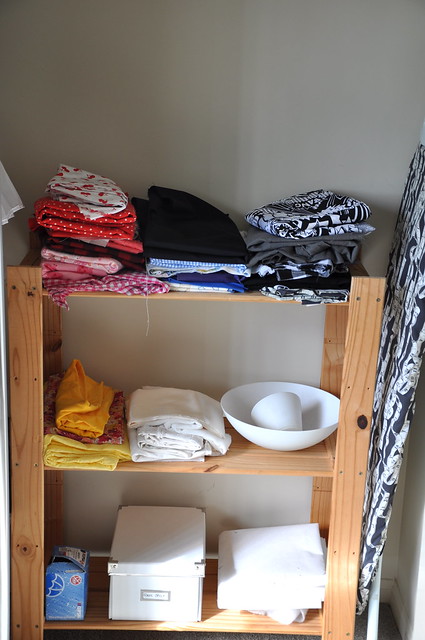
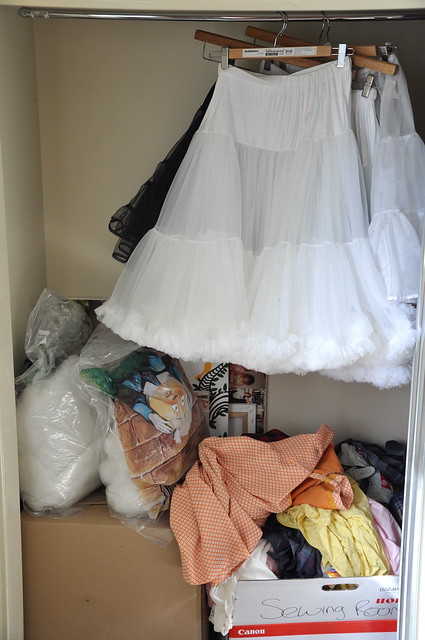
The sewing room. On the wall opposite this stuff is a double door cupboard that houses my fabric stash, my petticoats and a box of clothes that need to be altered or repaired.
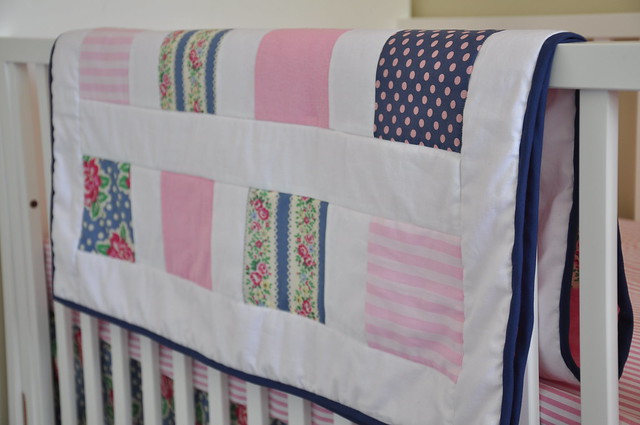
The guest bedroom. When we moved we bought a new bed for our room and moved our bed into the guest room. The sheets, pillows, doona and doona cover set were all wedding presents from my Pop & Carolyn. We only had to buy the throw blanket and the gray pillow. The bedside table Corey made in highschool.
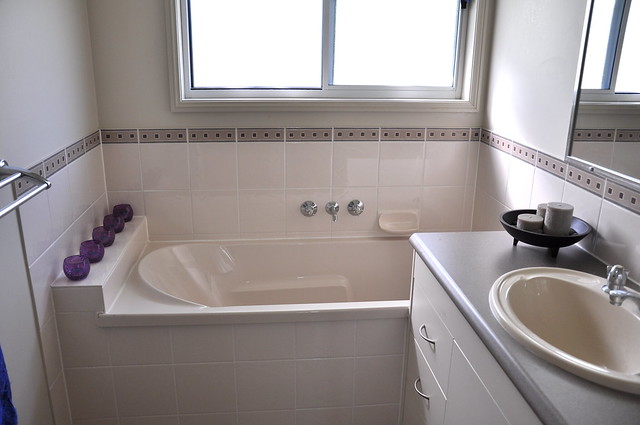
The guest bathroom. The bath in here is so deep its amazing. I haven't used it yet but it looks very inviting.
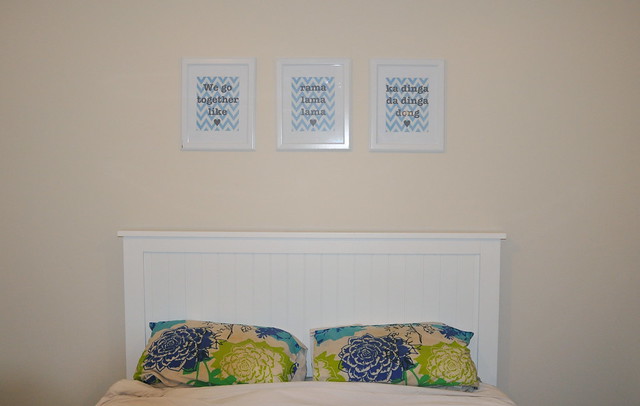
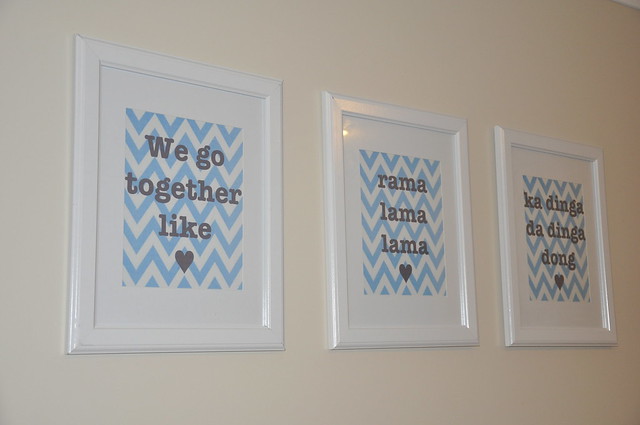
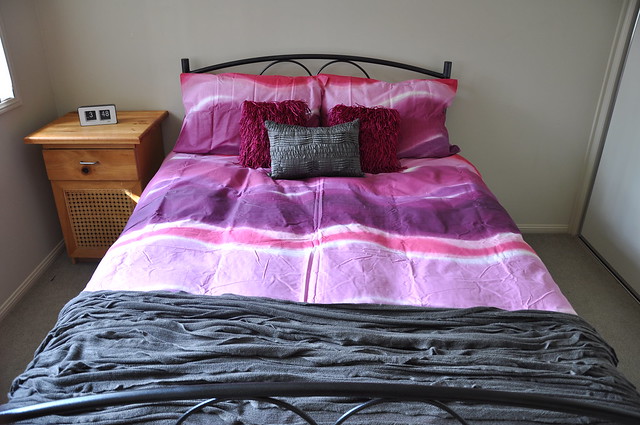
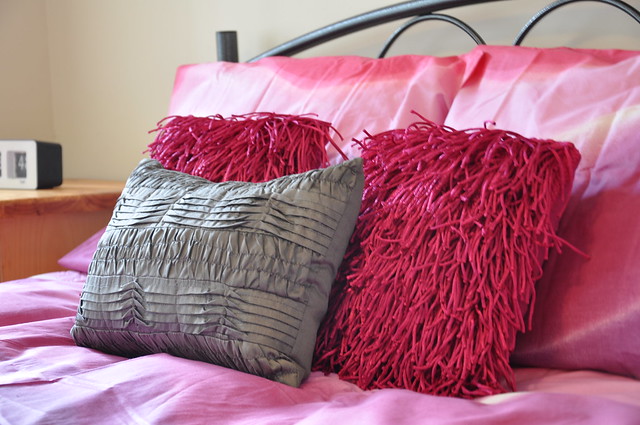
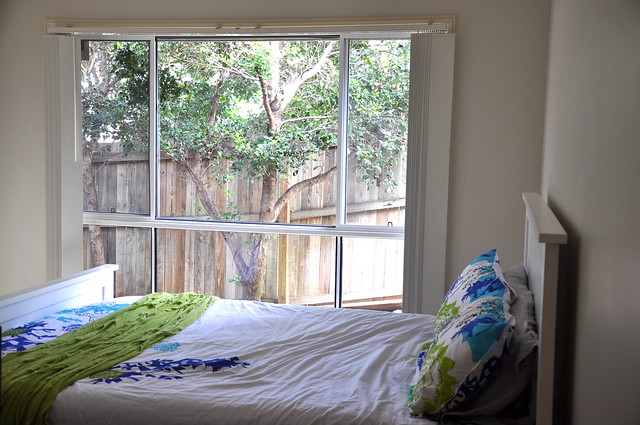
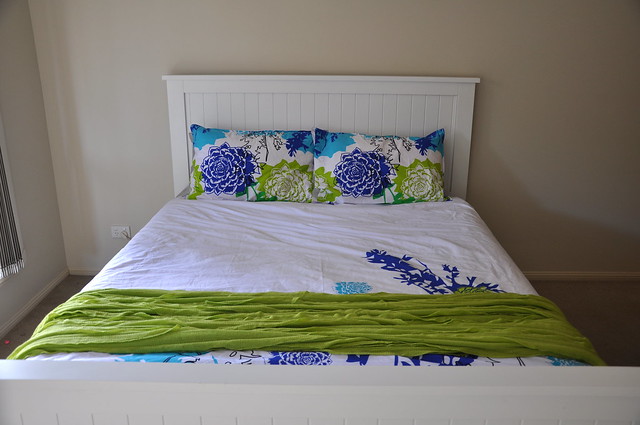
And lastly, our bedroom! We bought a brand new bed from Fantastic Furniture when we moved in. The quilt cover set came from Spotlight and the throw blanket and sheets came from Pillow Talk. We still need to buy bedside tables and the wall above the bed is very empty so we need to do something there. I'm just not sure what yet.
And that is our new house. We are pretty happy with the move. I am super close to work now and Corey has cut about 20 minutes each way of his commute. The street we live in is super quiet and although we haven't actually met our neighbors yet we haven't had any issues with them either. All we need to do now is finish making our house feel like a home.
Subscribe to:
Posts (Atom)